Use This Page For
Use this guide when you want the reasoning behind unit math, concentration planning, and workflow repeatability rather than a one-line chart lookup.
This page explains the logic behind readable syringe marks, concentration selection, and safer repeatability. It sits between quick cheat sheets and the live calculator so users can understand why the math works before they trust one output.
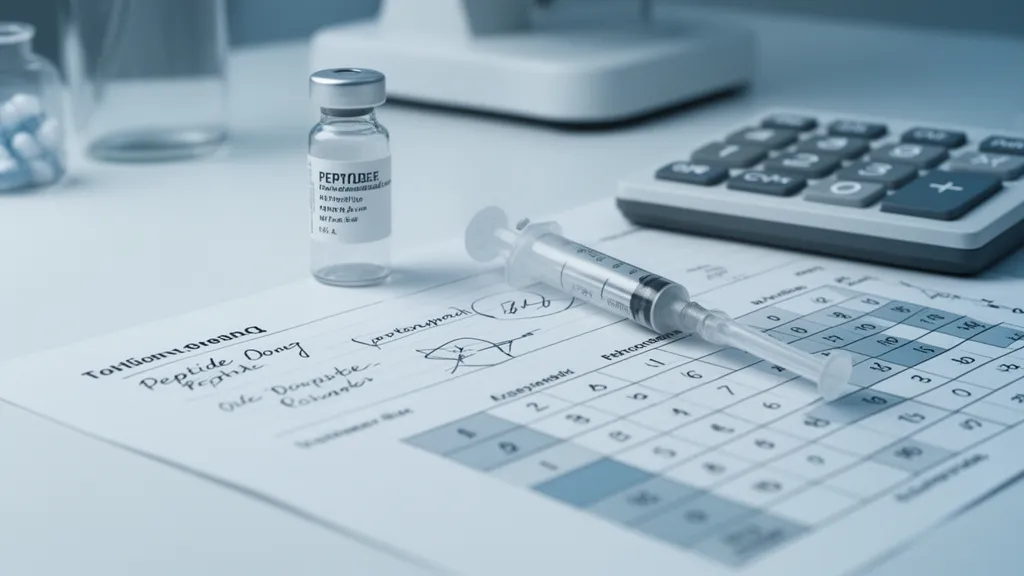
Use this guide when you want the reasoning behind unit math, concentration planning, and workflow repeatability rather than a one-line chart lookup.
The same peptide amount can be easy to measure in one dilution and awkward in another. Understanding that difference helps prevent visually sloppy or inconsistent draws.
This guide is about math and process quality. It does not set a universal peptide dose and should not be read as dosing advice for any specific compound.
Operational reading: Use this guide when you want the reasoning behind unit math, concentration planning, and workflow repeatability rather than a one-line chart lookup. The same peptide amount can be easy to measure in one dilution and awkward in another. Understanding that difference helps prevent visually sloppy or inconsistent draws.
What should happen after this page: The right next step after reading a guide like this is usually to move into a narrower tool, chart, or peptide-specific page with the variables kept explicit. That keeps one guide-level rule from being stretched across a different vial size, solvent choice, route, or formulation than the page actually supports.
Common mistake to avoid: The most common failure mode is not arithmetic. It is transferring one clean-looking answer into a different setup without rechecking concentration, labeling, storage context, or the evidence tier behind the claim. This guide is about math and process quality. It does not set a universal peptide dose and should not be read as dosing advice for any specific compound.
A guide should narrow the decision, not create fake certainty. When source-backed information ends, the responsible move is to label the gap, keep the assumption small, and avoid turning an estimate into a protocol.
In practice, the strongest use of a guide page is to filter out bad assumptions before you move to a narrower decision. That means checking whether the recommendation still applies once you swap peptide, dosage form, storage duration, or injection route. A good guide helps you ask the right follow-up question. It should not tempt you to skip that question.
Reliable dosing depends on three things working together: accurate concentration math, a syringe format that keeps the target mark readable, and a repeatable process that makes the same draw possible next time instead of only once.
Quick calculators are excellent at giving a number. They are much worse at teaching when that number becomes awkward to execute in the real world. A full guide fills that gap by showing how concentration, syringe scale, and workflow discipline interact before a user ever draws from a vial. The goal is not just correct arithmetic. It is repeatable arithmetic that can still be read and executed under ordinary handling conditions.
The most common dosing mistake is trying to solve the syringe mark first. The concentration has to be solved first because syringe units only become meaningful after the site knows how much peptide is present in each milliliter. In U-100 workflows, one unit is always 0.01 mL. What changes is how much peptide sits inside that 0.01 mL once the vial amount and reconstitution volume are chosen.
Suppose a 10 mg vial is reconstituted with 2 mL of bacteriostatic water. Concentration is 10 mg ÷ 2 mL = 5 mg/mL, so each U-100 unit holds 0.05 mg (50 mcg). A 250 mcg target is 250 ÷ 50 = 5 units; a 500 mcg target is 10 units. If you instead added 4 mL of water (2.5 mg/mL), that same 250 mcg becomes 10 units — a larger, easier-to-read draw. Nothing about the peptide changed; only the concentration did.
Concentration (mg/mL) = vial amount (mg) ÷ solvent volume (mL)
Units (U-100) = dose in mcg ÷ (10 × concentration in mg/mL)
This is exact arithmetic, not a model estimate, and it describes calculation only — not a recommended dose.
Once the target amount is known, the next practical question is whether the resulting syringe mark is actually readable. A mathematically correct draw that lands below about 2 units is often harder to reproduce than a slightly more dilute setup that moves the same amount into a clearer visual range. That is why concentration design should be treated as part of dosing quality rather than as a separate setup issue.
Very small marks are harder to read, mid-range marks are usually the most practical, and draws above syringe capacity should be fixed at the concentration level rather than forced at the syringe. The point is not that every valid dose must land in one perfect band. The point is that readability should be treated as part of the calculation output instead of as an afterthought.
The basic controls still matter most: double-check arithmetic before use, do not estimate visually without a measured conversion, recalculate after any concentration change, and label the vial clearly enough that later math is tied to the right setup. Logging date, time, and workflow notes also matters because repeatability is easier to defend when the dosing process itself is being tracked instead of remembered loosely.
Use the interactive calculator when you need exact custom math, the printable dosing chart when the setup matches a visible example row, and the dashboard when the real problem is keeping multiple timelines and vials organized after the math is already done. For a specific amount, the mcg-to-units hub has dedicated pages such as 250 mcg to units and 2 mg to units.
Two steps. First find concentration: total peptide in the vial (mg) divided by the millilitres of solvent you added. Then convert your target dose to units — on a U-100 syringe, units = dose in mcg ÷ (10 × concentration in mg/mL). The concentration step must come first, because units are meaningless until you know how much peptide is in each millilitre.
Readability. Doses that land on a mid-range, whole number of units (roughly 5–50) are easiest to draw repeatably. Draws below about 2 units are hard to reproduce, and draws above your syringe capacity will not fit. Both problems are fixed by changing concentration, not by squinting at the barrel.
Yes. Concentration changes whenever the vial amount or the water volume changes, and every unit conversion depends on concentration. A setup that was 10 units at one volume can be 5 or 20 units at another, so any change to the dilution requires a fresh calculation even if the peptide is the same.
No. This guide explains the calculation and workflow, not a recommended amount. Appropriate amounts are compound- and context-specific and fall outside unit conversion — the math only tells you how to draw a dose accurately once you have decided what it is.