Setting Up a Home Peptide Storage System: Complete Guide
Build an organized, safe, and efficient peptide storage system at home. Includes equipment checklist, labeling strategies, and safety protocols.
Whether you’re managing 2 vials or 20, an organized storage system prevents mix-ups, tracks potency, and ensures safety. Here’s how to build a professional-grade home setup.
Why Organization Matters
Common Problems Without a System:
- Forgetting reconstitution dates
- Confusing similar-looking vials
- Losing track of which vial is which
- Missing expiration windows
- Contamination from poor handling
Solution: A simple, systematic approach takes 30 minutes to set up and saves hours of confusion.
Equipment Checklist
Essential Items ($50-100 total)
Storage Container
- Clear plastic organizer with compartments
- Fits in fridge (8-10” wide max)
- Stackable if managing many vials
- Cost: $15-25
Labeling Supplies
- Waterproof labels or lab tape
- Fine-point permanent markers
- Cost: $5-10
Fridge Thermometer
- Digital with min/max memory
- Cost: $10-20
Vial Rack/Holder
- Keeps vials upright
- Prevents rolling/tipping
- Cost: $10-20
Notebook or Dashboard
- Physical log or use our Dashboard
- Cost: $5 or FREE (digital)
Optional but Recommended ($100-200)
Mini Fridge Dedicated to Peptides
- No food contamination risk
- Consistent temperature
- Easy organization
- Cost: $100-150
Additional Supplies
- Alcohol prep pads (100-pack): $8
- Sterile gloves (box of 100): $10
- Sharps container: $15
- Extra syringes (50-pack): $20
The Labeling System
Information to Include on Each Vial
Required:
- Peptide name
- Reconstitution date
- Concentration (e.g., “2.5mg/ml”)
Recommended: 4. Expiration estimate (use our calculator for this) 5. Storage method (Fridge/Freezer) 6. Solvent used (BAC/Saline)
Optional: 7. Nickname (“Blue Cap”, “Morning Vial”) 8. Batch number 9. Source/vendor
Label Format Example
BPC-157
Recon: 01/15/24
2.5mg/ml (5mg/2ml)
Expires: ~02/15/24
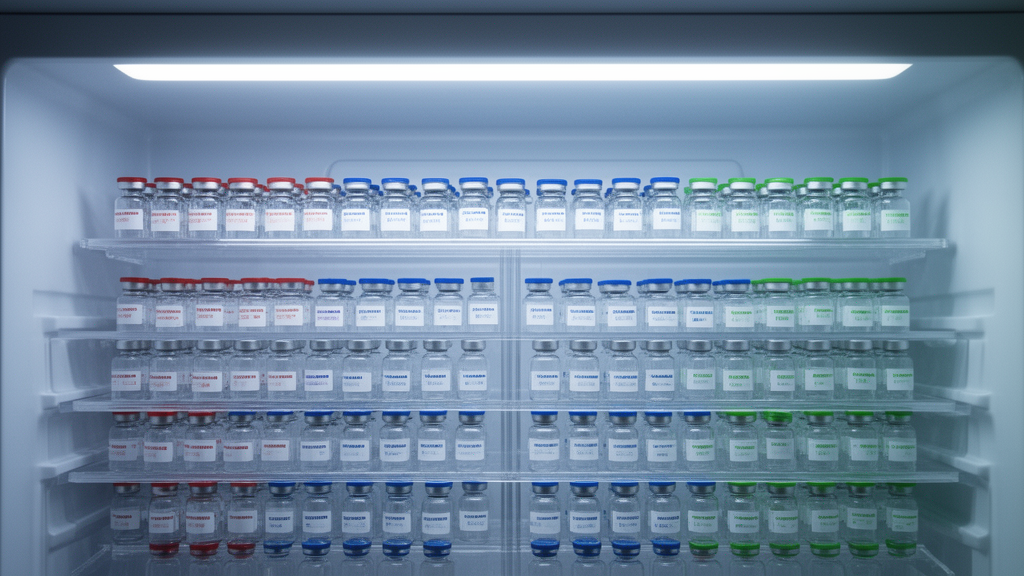
Fridge | BACColor-Coding Strategy
By Peptide Family:
- Blue: GLP-1s (Semaglutide, Tirzepatide)
- Green: Growth (GHRPs, GHRHs)
- Red: Healing (BPC-157, TB-500)
- Yellow: Other/Bioregulators
Alternative - By Priority:
- Red Label: Use first (oldest/lowest potency)
- Yellow Label: Use second
- Green Label: Use last (newest)
Physical Storage Setup
Refrigerator Organization
Top Shelf: Avoid (warmest spot)
Middle Shelf (BEST):
- Back corner (most stable temp)
- Place peptide organizer here
- Keep away from air vents
Bottom Shelf: Acceptable
- Sometimes too cold (near freezer)
- Monitor temp carefully
Door Shelves: NEVER
- Most temperature fluctuation
- Poor for peptides
Organizer Layout
Section 1: Active Vials
- Currently in use
- Organized by usage frequency
Section 2: Backup Vials
- Unopened or rarely used
- Organized by peptide type
Section 3: Accessories
- Syringes (sealed)
- Alcohol pads
- Needles
Section 4: Quarantine/Check
- Vials needing visual inspection
- Suspicious appearance
- Near expiration
The Dashboard System
Digital Tracking (Recommended)
Use our Multi-Vial Dashboard to track:
- All vials in one place
- Automatic potency calculations
- Color-coded status (Excellent/Good/Warning/Critical)
- Custom notes and nicknames
- Sort by potency to know what to use first
Advantages:
- No manual calculations
- Visual status indicators
- Never forget a vial
- Mobile-accessible
Physical Log (Backup)
Minimum Information:
- Peptide name
- Recon date
- Storage location
- Current status
Log Book Template:
Vial Log - January 2024

BPC-157 Vial #1
Recon: 01/05/24
Location: Fridge, back left
Notes: Clear, 500mcg/day protocol
Status: ✓ Active

Semaglutide Vial #1
Recon: 01/10/24
Location: Fridge, back right
Notes: 0.25mg weekly
Status: ✓ Active
Safety Protocols
Rule #1: Sterile Technique Always
Before accessing ANY vial:
- Wash hands (20+ seconds)
- Put on gloves
- Swab vial stopper with alcohol
- Wait 15 seconds for alcohol to evaporate
- Use new, sterile syringe
Rule #2: Never Share Syringes
One syringe, one use, one time
Even between your own vials - cross-contamination risk.
Rule #3: Sharps Disposal
Never:
- Throw needles in regular trash
- Recap used needles
- Leave sharps accessible to others
Always:
- Use sharps container
- Dispose when 3/4 full
- Keep out of reach
Rule #4: Weekly Inspection
Every Sunday (or set day):
- Visual inspection of all vials
- Update dashboard/log
- Discard any suspicious vials
- Check fridge temperature
- Restock supplies
Temperature Management
Monitoring
Daily Check: Glance at fridge thermometer
Weekly Record: Log min/max temperatures
Target Range: 4-6°C (39-43°F) — within the 2–8°C pharmaceutical refrigeration standard per ICH Q1A(R2)
Action If Outside Range:
- Adjust fridge settings
- Move peptides to different spot
- Consider mini fridge
Power Outage Protocol
If power out <4 hours: Likely fine
- Keep fridge closed
- Check temperature when power returns
If power out >4 hours:
- Move to cooler with ice packs
- Monitor temperature
- Consider potency impact (use calculator)
If temp exceeded 15°C:
- Treat as room-temp exposure
- Adjust expected potency
- Use high-priority peptides first
Rotation Strategy: FIFO
First In, First Out
Why: Oldest vials degrade most
Implementation:
- New vials go to back
- Pull from front for dosing
- Use dashboard to sort by date
Exception: Aggregation-sensitive peptides
- Use GLP-1 peptides (Semaglutide, Tirzepatide) before BPC-157 or TB-500 — GLP-1s are more prone to aggregation and have stricter handling requirements despite slower potency decay in the calculator
- Even if the BPC-157 vial is older
Multi-User Household Management
If sharing fridge with family:
Solution 1: Dedicated Organizer
- Clear labeled container
- “Research Materials - Do Not Touch”
- Placed in back of fridge
Solution 2: Mini Fridge
- Peptides only
- In private space
- Locked if necessary
Solution 3: Camouflage
- Non-descriptive container
- “Supplement Storage” label
- Discrete placement
Travel/Portability
Short Term (<8 hours)
Equipment:
- Insulated lunch bag
- 2 ice packs
- Small thermometer
Protocol:
- Freeze ice packs overnight
- Wrap peptide vial in paper towel (prevent direct ice contact)
- Place between ice packs
- Check temperature every 2-3 hours
Long Term (>1 day)
Better Option: Leave at home in fridge
- Have partner/friend dose you
- Or schedule travel around dosing
If Must Travel:
- Hotel mini-fridge
- Monitor temperature
- Use within 7 days of departure
Scaling Up: Managing 10+ Vials
Challenges:
- Harder to track all vials
- More fridge space needed
- Greater contamination risk
Solutions:
Use Dashboard Extensively
- Digital tracking essential
- Sort by potency
- Set reminders
Physical Zoning:
- Zone 1: Daily use (front)
- Zone 2: Weekly use (middle)
- Zone 3: Backup (back)
Batch Labeling:
- Month/year code
- Color by batch
- Track by cohort
Inventory Management
Restock Triggers
Low Supply Warning:
- <2 weeks remaining on active vial
- Order replacement now
Critical Supply:
- <1 week remaining
- Rush order if needed
Use Dashboard Alerts:
- Set custom thresholds
- Get notified before running out
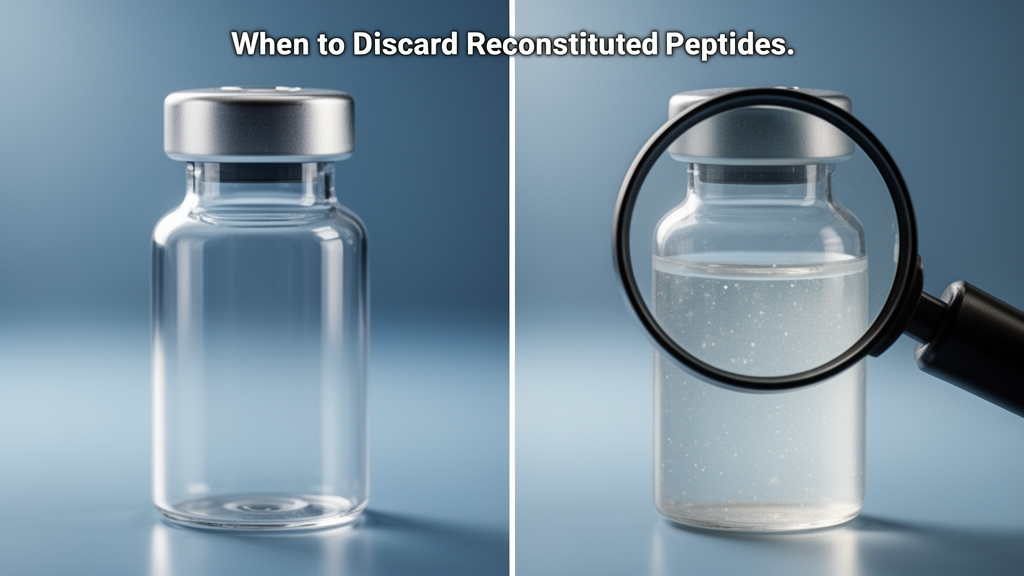
Disposal Protocol
When to Discard:
- Potency <50%
- Visual degradation
-
60 days old (most peptides)
- Contamination suspected
How to Discard:
- Pour liquid down drain with running water
- Rinse empty vial
- Dispose in regular trash (vial only)
- Needles/syringes in sharps container
Cost-Effective Storage
Budget Setup ($50-75):
- Plastic organizer: $20
- Labels/markers: $10
- Thermometer: $15
- Vial rack: $15
- Supplies: $20
Premium Setup ($250-300):
- Mini fridge: $150
- All budget items: $75
- Extra supplies: $50
- Backup thermometer: $25
ROI: Organization prevents waste
- One lost $40 vial pays for entire budget setup
- Temperature control extends lifespan 30-50%
Checklist: Weekly Maintenance
Every Sunday:
- Visual inspection of all vials
- Update dashboard/log
- Check fridge temperature (record min/max)
- Discard any expired/suspicious vials
- Restock supplies (syringes, alcohol pads)
- Plan next week’s dosing schedule
- Order replacements if needed
Time Required: 10-15 minutes
Common Setup Mistakes
❌ Mistake: Vials loose in fridge
✓ Fix: Use organizer, keep upright
❌ Mistake: No temperature monitoring
✓ Fix: $15 thermometer, check weekly
❌ Mistake: Handwritten dates fade
✓ Fix: Waterproof labels, permanent marker
❌ Mistake: Mixing vials with food
✓ Fix: Dedicated container or mini fridge
❌ Mistake: No tracking system
✓ Fix: Use dashboard, takes 2 minutes per vial
Conclusion
A proper storage system takes 30 minutes to set up and 10 minutes weekly to maintain. Benefits include:
✅ Never lose track of vials
✅ Optimal potency preservation
✅ Safety and organization
✅ Cost savings (less waste)
✅ Peace of mind
Start Today:
- Order basic supplies ($50-75)
- Set up organizer in fridge
- Create dashboard account (free)
- Label existing vials
- Implement weekly maintenance routine
Related Tools:
- Multi-Vial Dashboard - Digital tracking system
- Potency Calculator - Calculate expiration dates
- Peptide Database - Storage requirements for each peptide
Next Steps: Read our visual inspection guide to learn what to look for during weekly checks.