Complete Peptide Reconstitution Guide for Beginners
Step-by-step guide to safely reconstituting lyophilized peptides, including sterile technique, equipment needed, and common mistakes to avoid.
Reconstituting lyophilized peptides can seem intimidating for first-timers. This comprehensive guide walks you through the entire process with safety as the top priority.
Equipment Needed
Essential Items
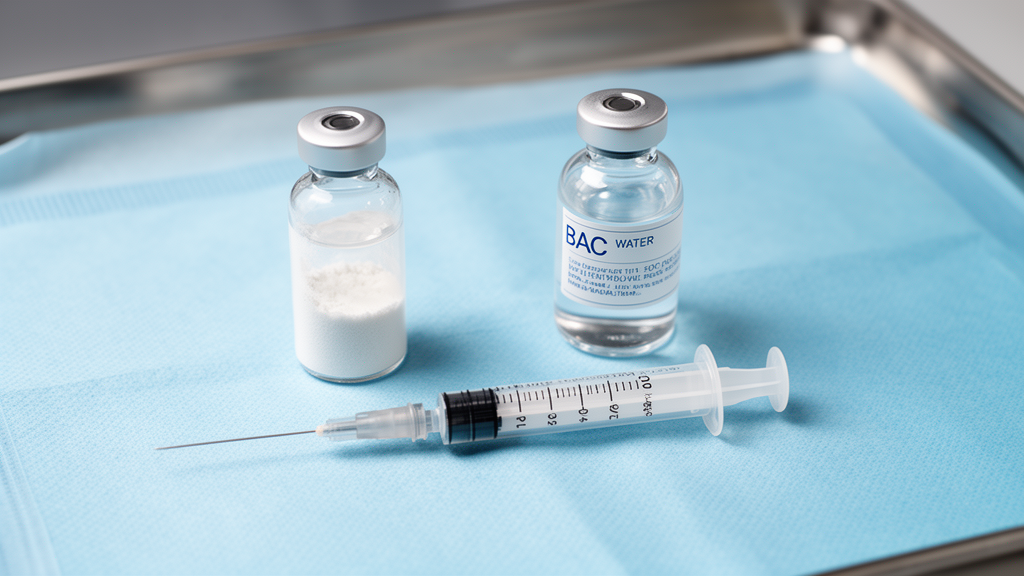
- ✅ Lyophilized peptide vial
- ✅ Bacteriostatic water (preferred) or sterile saline
- ✅ Alcohol prep pads (70% isopropyl alcohol)
- ✅ Sterile syringes (3ml or 5ml recommended)
- ✅ Clean, well-lit workspace
- ✅ Gloves (nitrile or latex)
Optional but Recommended
- Sterile needle filters
- Lab mat or clean paper towels
- Sharps container
- Calculator or our Peptide Calculator
Preparation Steps
1. Create a Sterile Environment
Before starting:
- Wash hands thoroughly with soap for 20+ seconds
- Clean workspace with 70% alcohol
- Lay out all equipment
- Put on gloves
- Minimize air movement (close windows, turn off fans)
2. Bring to Room Temperature
Critical step often missed:
- Remove both peptide vial and bacteriostatic water from refrigerator
- Let sit at room temperature for 20-30 minutes
- Why? Cold solutions can shock the peptide and cause precipitation
Reconstitution Process
Step 1: Calculate Volume
Determine how much bacteriostatic water to add:
Example: 5mg peptide, targeting 250mcg per dose
- Desired concentration: 2.5mg/ml (easy math for 100-unit syringe)
- Required water: 2ml (5mg ÷ 2ml = 2.5mg/ml)
Use our Peptide Calculator for instant calculations.
Step 2: Prep the Vials
- Peptide vial: Remove plastic cap, swab rubber stopper with alcohol pad
- BAC water: Swab rubber stopper with new alcohol pad
- Let alcohol evaporate completely (15-20 seconds)
Step 3: Draw Bacteriostatic Water
- Remove syringe from packaging (keep sterile)
- Pull back plunger to desired volume (e.g., 2ml)
- Insert needle through BAC water stopper
- Push air into vial (equalizes pressure)
- Invert vial and draw water slowly
- Check for air bubbles; tap syringe to release
Step 4: Add Water to Peptide
This is the most critical step:
- Insert needle into peptide vial at a 45° angle
- Aim for the side wall, not directly at the powder
- Inject slowly - let water run down the wall
- Never shake - gentle rolling motion only
- Let sit for 5 minutes if foam appears
Why aim for the wall?
- Direct injection can denature delicate peptide structures
- Gentle contact preserves molecular integrity
Step 5: Mix Gently
Once water is added:
- Swirl gently in circular motion
- Never shake vigorously
- Continue until powder is completely dissolved
- Solution should be clear (slight cloudiness immediately after is normal)
Step 6: Inspect the Solution
Before first use, check for:
- ✅ Clear appearance (not cloudy)
- ✅ No visible particles or floating debris
- ✅ Colorless (some peptides may have slight tint)
- ❌ Discard if: Cloudy, discolored, or contains particles
Post-Reconstitution Storage
Immediate Actions
- Label vial with:
- Peptide name
- Concentration (e.g., “2.5mg/ml”)
- Reconstitution date
- Expiration estimate (use our calculator for this!)
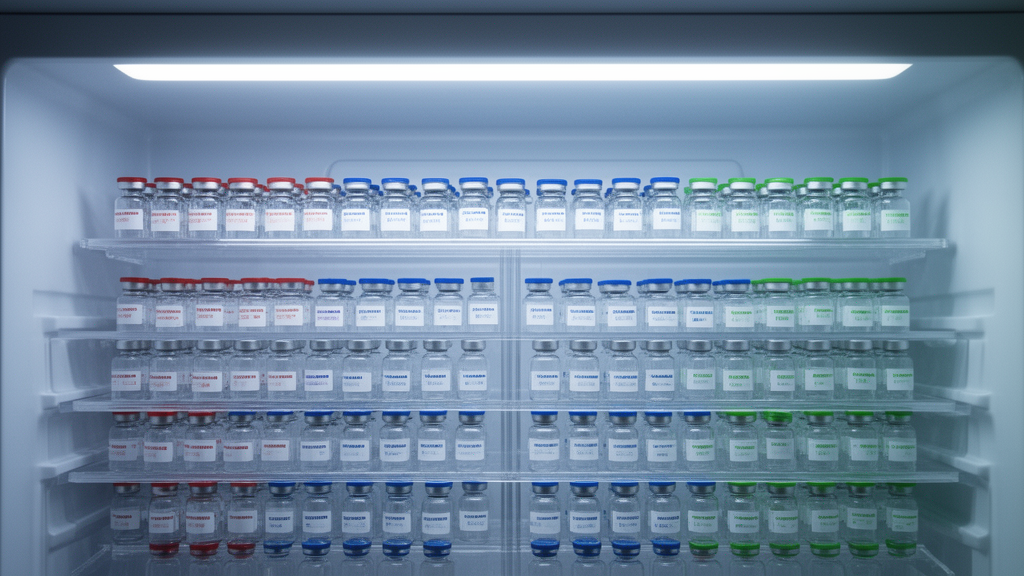
- Store immediately in refrigerator (2-8°C)
- Log in Multi-Vial Dashboard for tracking
Storage Guidelines
- Refrigerator (2-8°C): Most peptides stable 14-30 days
- Freezer (-20°C): Check if peptide is freeze-safe (many aren’t!)
- Room temperature: Not recommended for reconstituted peptides
Common Mistakes to Avoid
❌ Mistake #1: Shaking Instead of Swirling
Why it’s bad: Creates foam and can denature peptides
Fix: Gentle circular swirling only
❌ Mistake #2: Adding Too Little Water
Why it’s bad: Makes accurate dosing difficult
Fix: Use 1-3ml minimum for most vials
❌ Mistake #3: Rushing the Process
Why it’s bad: Contamination risk increases
Fix: Take your time - proper reconstitution takes 5-10 minutes
❌ Mistake #4: Forgetting to Label
Why it’s bad: Easy to confuse vials, forget dates
Fix: Label immediately, use our dashboard tracker
❌ Mistake #5: Using Expired BAC Water
Why it’s bad: Bacterial contamination risk
Fix: Check expiration dates, write opening date on vial
Dosing After Reconstitution
First Dose Guidelines
- Wait 30 minutes after reconstitution (allows settling)
- Use new, sterile syringe
- Swab stopper with alcohol before each use
- Draw slowly to avoid creating bubbles
- Expel air bubbles before injecting
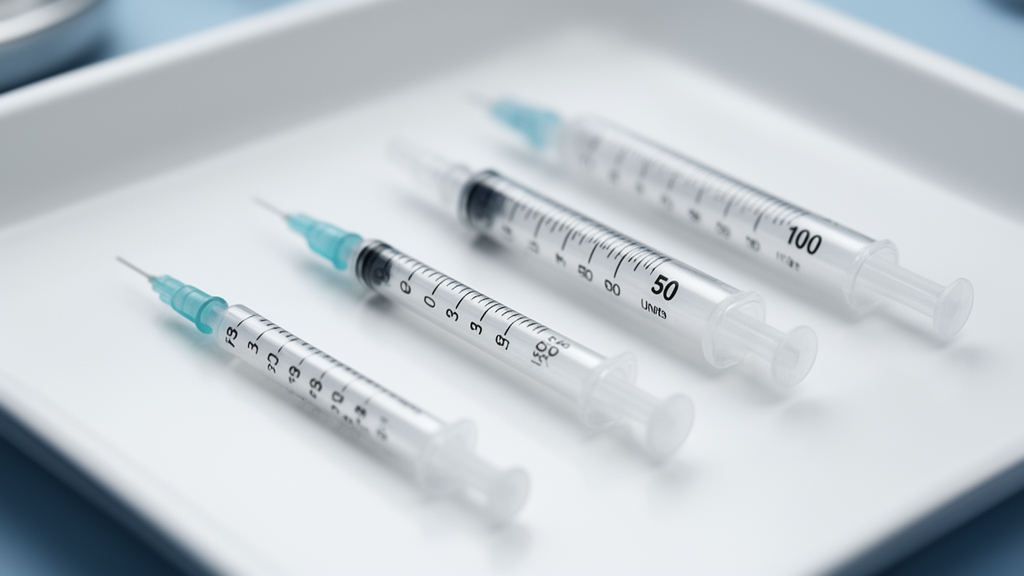
Syringe Size Selection
- 100-unit (1ml): Most common, works for most doses
- 50-unit (0.5ml): Better for smaller doses
- 30-unit (0.3ml): Precise for very small doses
Use our Peptide Calculator to determine exact units to draw.
Troubleshooting
Solution is Cloudy
Possible causes:
- Peptide already degraded (check storage)
- Contaminated water
- Chemical incompatibility Action: Discard and start with fresh peptide
Powder Won’t Dissolve
Possible causes:
- Solution too cold
- Insufficient water
- Degraded peptide Action: Let warm to room temp, add slightly more water if needed
Foam Formation
Possible causes:
- Injected too quickly
- Shaking instead of swirling Action: Let sit 5-10 minutes, foam should dissipate
Safety Reminders
- Never reuse needles or syringes
- Dispose of sharps properly in designated container
- Store away from children and pets
- Keep vials refrigerated after reconstitution
- Use within stability window - track with our calculator
Injection safety guidance: CDC Injection Safety — Clinical Guidance for Healthcare Providers. Solvent selection: DailyMed — Bacteriostatic Water for Injection (0.9% benzyl alcohol, multi-dose). 21 CFR §610.15 — preservative requirements for biologics.
Conclusion
Proper reconstitution is the foundation of safe peptide research. Following sterile technique and taking your time ensures:
- Maximum potency preservation
- Minimum contamination risk
- Accurate dosing
Once reconstituted, use our tools to track potency decay and calculate precise doses:
- Potency Decay Calculator - Track degradation over time
- Multi-Vial Dashboard - Manage multiple peptides
- Peptide Calculator - Calculate exact syringe units
Next Steps: